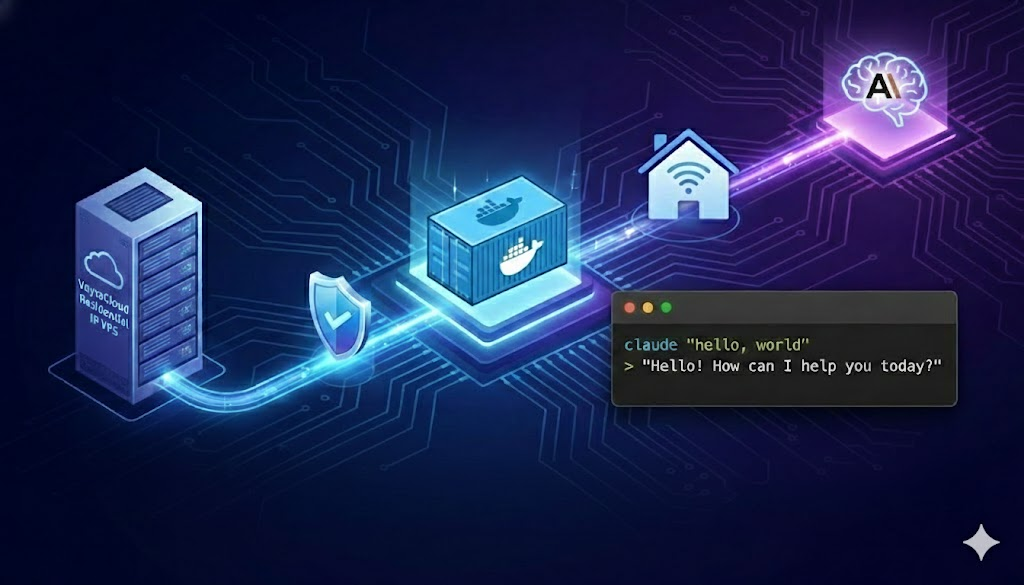
Utilize VoyraCloud Residential IP VPS (real residential network, anti-ban, stable and high-speed), to deploy the currently most mature and stable open-source Claude relay service with one click through Docker Compose — Claude Relay Service (abbreviated as CRS, GitHub project Wei-Shaw/claude-relay-service).
This solution supports:
- Complete proxy for Claude API
- Multi-account load balancing (anti-throttling)
- Carpool sharing (generate sub Key)
- Usage statistics
- Web management panel
Perfectly compatible with the official Claude Code CLI tool, allowing you to enjoy a high-speed, stable Claude coding experience locally.
Why choose residential IP? The core advantages are clear
Anthropic (Claude) risk control mainly targets data center IPs, using residential IPs can significantly reduce the risk of account bans. CRS is currently recognized by the community as the most popular and stable open-source Claude relay project (high official image pull volume on Docker Hub, countless success cases). The Docker Compose deployment method comes with Redis, eliminating the need to manually install dependencies, and is a production-level solution recommended by both official and community sources. 📖 Further reading: Still not fully understanding why both Anthropic and OpenAI are friendly to residential IPs but defensive against data center IPs? This article "What is Residential IP VPS: 2026 Authority Guide" clarifies the underlying principles from three dimensions: IP supply chain, ASN classification, and anti-detection mechanisms — it answers all "why is my Claude Code always subject to risk control" questions.
💡 Still struggling: Can residential proxy + cheap data center VPS replace residential IP VPS? Short answer: It can work but will be 5-10 times more expensive, and WebSocket/HTTP/2 long connections often drop (Claude Code happens to rely heavily on this). For a complete comparison and cost calculation, see "Residential IP VPS vs Residential Proxy: 2026 Complete Comparison".
Step 1: Purchase and log in to VoyraCloud Residential IP server
- Visit VoyraCloud Residential IP VPS purchase page, it is recommended to choose Los Angeles or Washington nodes.
- Individuals/Small teams: Start with 2 cores
- Carpool sharing: It is recommended to have 4 cores or more
- Select Ubuntu 24.04 (most compatible).
- After purchasing, obtain IP, username (ubuntu), and password.
- Log in via SSH:
- Windows: Recommended PuTTY or Windows Terminal
- Mac/Linux: Execute in terminal
ssh ubuntu@yourVPS_IP
Step 2: Install Docker
After logging in to the VPS, execute with one click:
sudo mkdir -p /etc/apt/sources.list.d && curl -fsSL https://get.docker.com -o get-docker.sh && sudo sh get-docker.sh && sudo systemctl restart docker && sudo systemctl enable dockerCheck if successful:
docker --versionIf you see the version number, the installation is complete.
Step 3: Install Docker Compose
DOCKER_CONFIG=${DOCKER_CONFIG:-$HOME/.docker} && mkdir -p $DOCKER_CONFIG/cli-plugins && curl -SL https://github.com/docker/compose/releases/download/v5.0.1/docker-compose-linux-x86_64 -o $DOCKER_CONFIG/cli-plugins/docker-compose && chmod +x $DOCKER_CONFIG/cli-plugins/docker-composeCheck:
docker compose versionIf it shows v5.0.1 (or higher), it is successful.
Step 4: Fix Docker permissions
sudo usermod -aG docker ubuntu && newgrp dockerStep 5: Create deployment directory
mkdir ~/crs && cd ~/crsStep 6: Create docker-compose.yml configuration file
nano docker-compose.ymlPaste the following content (be sure to modify the two keys):
services:
claude-relay:
image: weishaw/claude-relay-service:latest
container_name: claude-relay-service
restart: unless-stopped
ports:
- "8080:3000" # The host port can be modified as needed
environment:
- PORT=3000
- REDIS_HOST=redis
- REDIS_PORT=6379
- JWT_SECRET=Your super long random key 1 # At least 60 characters, a mix of alphanumeric symbols
- ENCRYPTION_KEY=Your super long random key 2 #
Same as above, must be different
depends_on:
redis:
condition: service_healthy
volumes:
- ./logs:/app/logs
- ./data:/app/data
redis:
image: redis:7-alpine
container_name: claude-relay-redis
restart: unless-stopped
healthcheck:
test: ["CMD", "redis-cli", "ping"]
interval: 3s
timeout: 2s
retries: 30
volumes:
- redis_data:/data
volumes:
redis_data:Ctrl+O to save, Ctrl+X to exit.
Verify the file:
cat docker-compose.ymlStep 7: Start the service
docker compose up -dWait 2-15 minutes for the image to download.
Check the status:
docker compose psIf both containers show Up, it is successful.
Check the logs to confirm normal operation:
docker compose logs -f claude-relayIf you see the repeatedly appearing health-check completed log, it indicates the service is healthy (Ctrl+C to exit).
Step 8: Access the Web management panel and configure accounts
Open in your browser: http://VPS_IP:8080/web
The first visit will automatically generate an admin account, view it by:
cat data/init.jsonAfter logging in, operate:
- Click "Add Account" → Choose "Anthropic API" or "Claude Console"
- Enter your Claude Pro/Max account password or official API Key
- Supports adding multiple accounts for automatic rotation load balancing
- Can generate sub API Keys for friends to share, reducing costs
Step 9: Configure Claude Code locally to use the relay station
Globally install Claude Code:
npm install -g @anthropic-ai/claude-codeConfigure environment variables (recommended to use the sub Key generated by the panel):
Mac/Linux:
export ANTHROPIC_BASE_URL="http://VPS_IP:8080/v1"
export ANTHROPIC_API_KEY="The subkey (or any string) generated by the panel"
Windows PowerShell:
$env:ANTHROPIC_BASE_URL="http://VPS_IP:8080/v1"
$env:ANTHROPIC_API_KEY="The subkey (or any string) generated by the panel."
Test:
claude --version
claude "hello, world"
If you receive a normal response, you have succeeded!
You now have a pure residential IP, high-speed and stable, privately exclusive Claude Code relay station, and can easily share costs through carpooling.
Common maintenance commands
- Update service: cd ~/crs && docker compose pull && docker compose up -d
- Restart service: docker compose restart
- Complete reset (caution): docker compose down -v && rm -rf logs data
Common problem solutions
- Unable to access the Web panel? Check the firewall: sudo ufw allow 8080 && sudo ufw reload
- Service startup failed? Check the logs: docker compose logs -f, common reasons include unmodified keys or network issues, simply restart: docker compose restart
- Update servicedocker compose pull
docker compose up -d
Advanced: Run AI Agents outside of Claude Code on the same residential IP VPS
Once CRS is up and running, the value of this residential IP VPS goes far beyond just being a relay station. The same IP, the same Docker environment, can simultaneously host:
- AI Browser Agent (Claude Computer Use / Browser Use / OpenAI Operator-style self-hosted Agent) — see "How to Run AI Browser Agent 7×24"
- n8n / Dify / MCP Server self-hosted automation
- Multi-account TikTok / Instagram operations (one VPS = one account)
Residential IP VPS is the most underestimated "infrastructure unlock card" for AI developers in 2026 — one deployment, multiple scenarios shared.
Get started now → Recommend VoyraCloud Residential IP
Click to purchase VoyraCloud Residential IP VPS
Residential IP is currently the most stable and secure solution for using Claude, highly recommended!